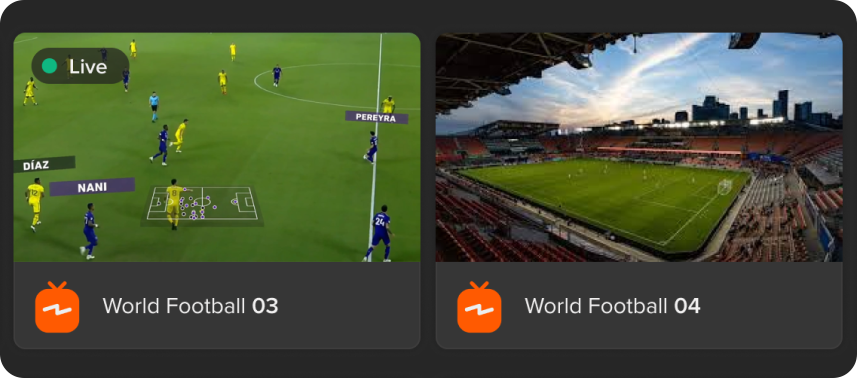


Create beautiful channels at up to 4K

Dynamic real time motion graphics

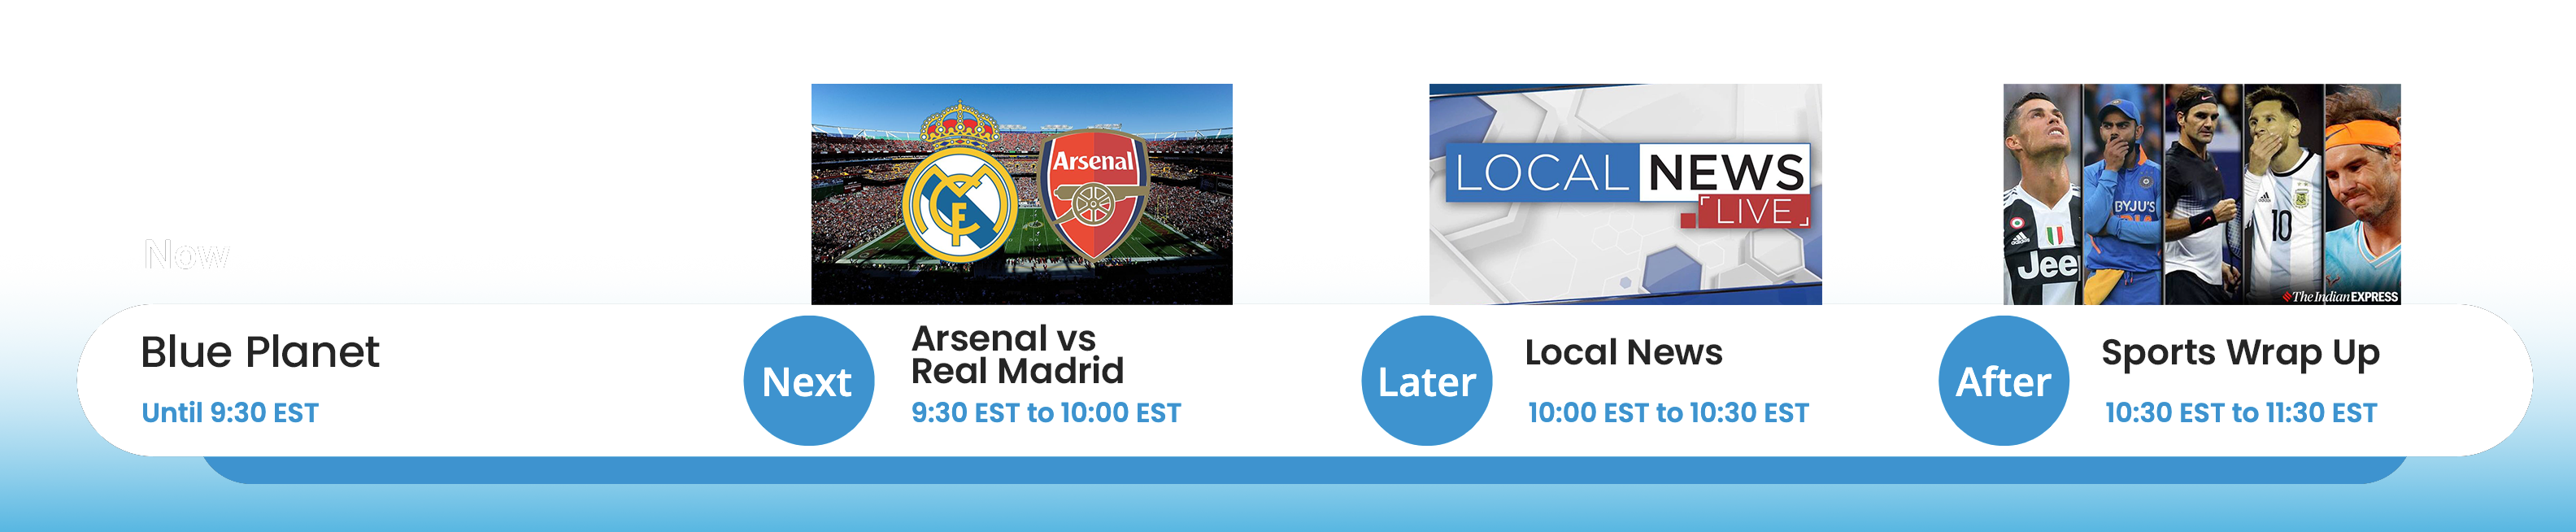
Live events and programs, scheduled or manual, single click setup

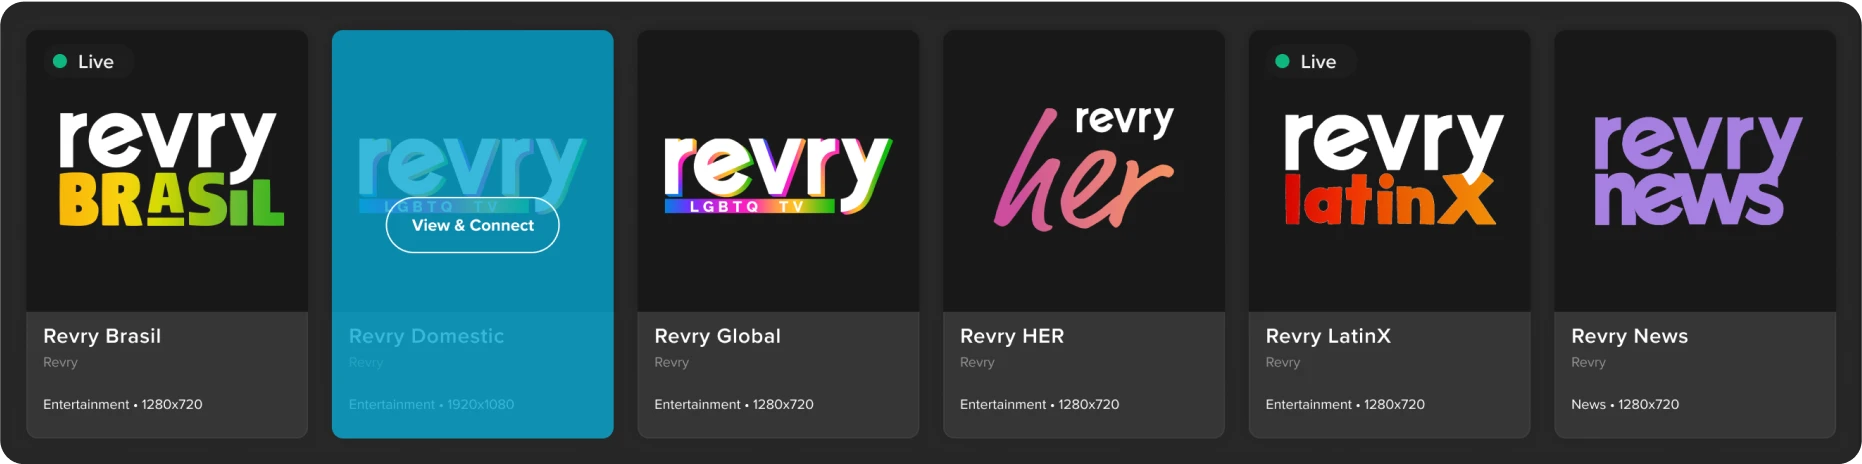
Create beautiful channels at up to 4K
Dynamic real time motion graphics
Live events and programs, scheduled or manual, single click setup
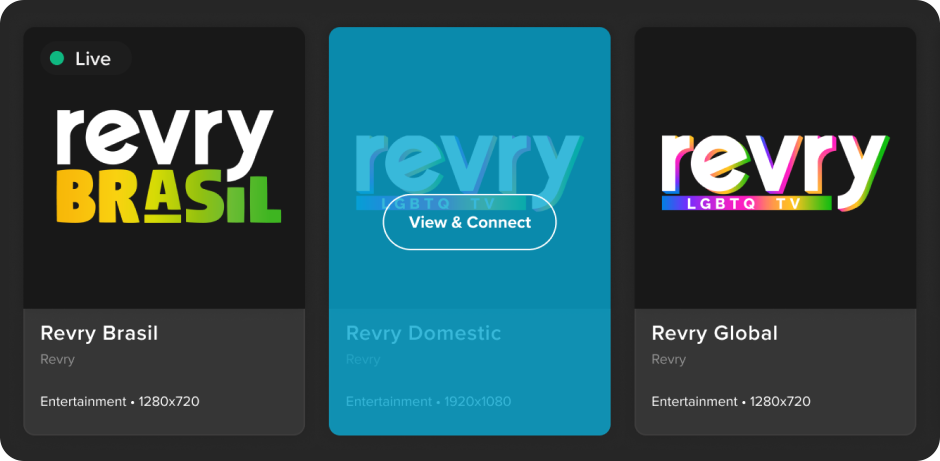
Create beautiful channels at up to 4K
Dynamic real time motion graphics
Live events and programs, scheduled or manual, single click setup
Studio 5 is the most intuitive and powerful linear cloud playout platform on the market. Studio 5 makes it easy to manage and schedule content so that you can spend your time creating channels that inspire, educate, and entertain your audience.
A suite of intelligent tools and machine learning utilities that do the work for you.
Frequency's network reaches over 350M viewers and is integrated with every leading FAST platform in the world.
View All Distributors


You deserve complete transparency in your bill. With Frequency you pay a flat monthly fee per channel. No connector fees, no unexpected charges. Deliver to one or multiple distributors for the same monthly price.